DIY: Make Handmade Notebooks
Hey there, crafty friend! Are you ready to dive into a super fun project and make your own handmade notebooks? Trust me, it’s easier than you think, and the results are absolutely adorable. Whether you want to give them as gifts or just enjoy some creative time for yourself, these notebooks are perfect. We’ll be making them in three styles: hand-drawn cardstock, pre-made pattern cardstock, and solid cardstock decorated with washi tape. Let’s get started!

What You’ll Need:
- Cardstock (hand-drawn, pre-made pattern, and solid)
- Regular printer paper (12 sheets per notebook)
- Binder clips
- Long stapler or a regular stapler (with a piece of cork)
- Bone folder
- Straight edge (ruler)
- X-Acto knife
- Downloadable belly band template
- Washi tape
Here’s How We Do It:

-
Pick Your Cover Style or Do All Three:
- Hand-drawn Cardstock: Get your doodle on! Grab some markers or pens and design your own unique cover. Think patterns, quotes, or whatever inspires you.
- Pre-made Pattern Cardstock: This is the easy route. Just pick a pretty patterned cardstock and you’re good to go.
- Solid Cardstock with Washi Tape: Choose a solid color and then jazz it up with some fun washi tape designs.
-
Fold the Cover and Pages:
- Fold your chosen cardstock cover in half like a book.
- Fold 12 sheets of regular printer paper in half, one by one. It’s kinda like making little booklets.
-
Assemble Your Notebook:
- Nest the folded printer paper inside one another to create a stack.
- Slip the stack of paper into your folded cardstock cover.
-
Clip and Staple:
- Use binder clips to keep everything in place. Trust me, this makes stapling way easier.
- If you’ve got a long stapler, staple along the spine. If you’re using a regular stapler, open it up and staple into a piece of cork to protect your table. Three staples along the spine should do the trick!
-
Flatten the Binding:
- Take your bone folder (or just the edge of a ruler) and press down along the spine. This will make sure everything lays nice and flat.
-
Trim the Edges:
- Use a straight edge and an X-Acto knife to carefully trim any uneven edges. It makes your notebook look super professional.
-
Add the Belly Band:
- Download and print the belly band template from our website.
- Wrap the belly band around your notebook and secure it with some washi tape. Voilà, your notebook is complete!
And just like that, you’ve got a beautiful handmade notebook ready for gifting, or to keep for yourself (because let’s be honest, they’re too cute to give away sometimes).
If you want to turn these cute handmade notebooks into a gift you can download our PDF Belly Bands to attach to your notebook packs.
Download the belly band template here:
BBB SIGNATURE PINK & SIMPLE BLACK/WHITE BELLY BAND

Extra Tips for Personalizing Your Notebooks:
- Play around with different washi tape patterns and colors. The more, the merrier!
- Mix and match different cardstock designs to create a themed set of notebooks.
- Use these little notebooks as suplamental BUJOs for items that dont fit in your monthly spread such as budget, to do list, or habit tracking.
I hope you have as much fun making these as I do. Happy crafting, and don’t forget to share your creations with us on social media by tagging @WeAreBBBSupplies.
Stay tuned for more crafty adventures and creative ideas on our blog!
Feeling Inspired?
Read more

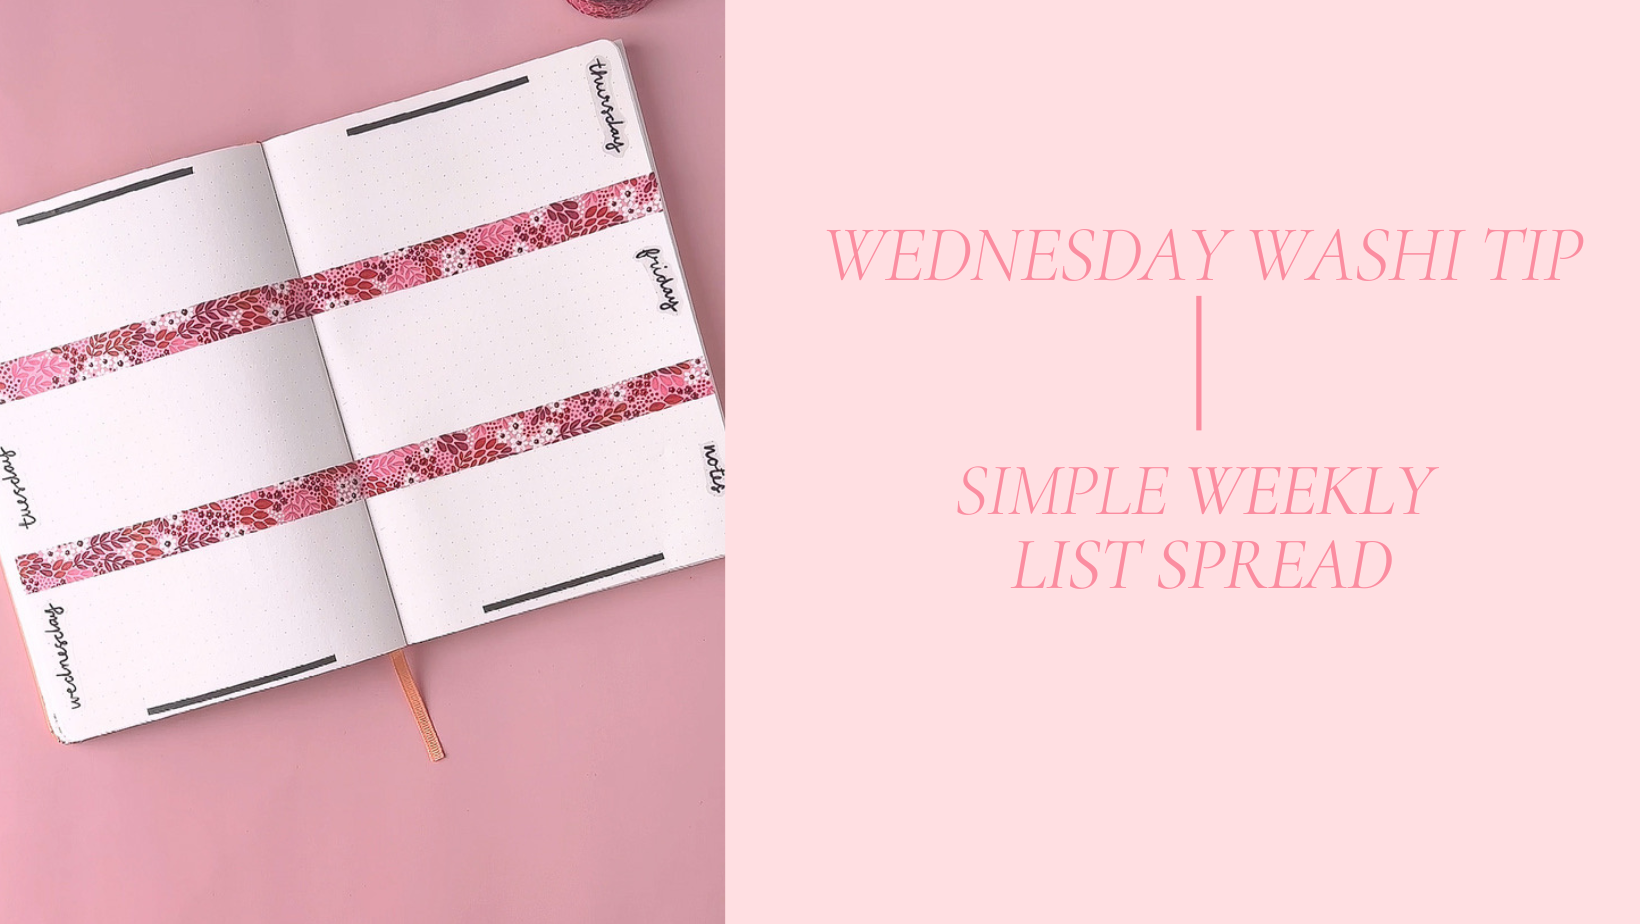
Simple Week Spread with Washi - WEDNESDAY WASHI TIP
Happy #WashiWednesday! Today, I’m excited to share a simple but oh so useful layout using washi tape that is a two page spread. This quick spread is super efficient because it simply gives you bla...
Read more
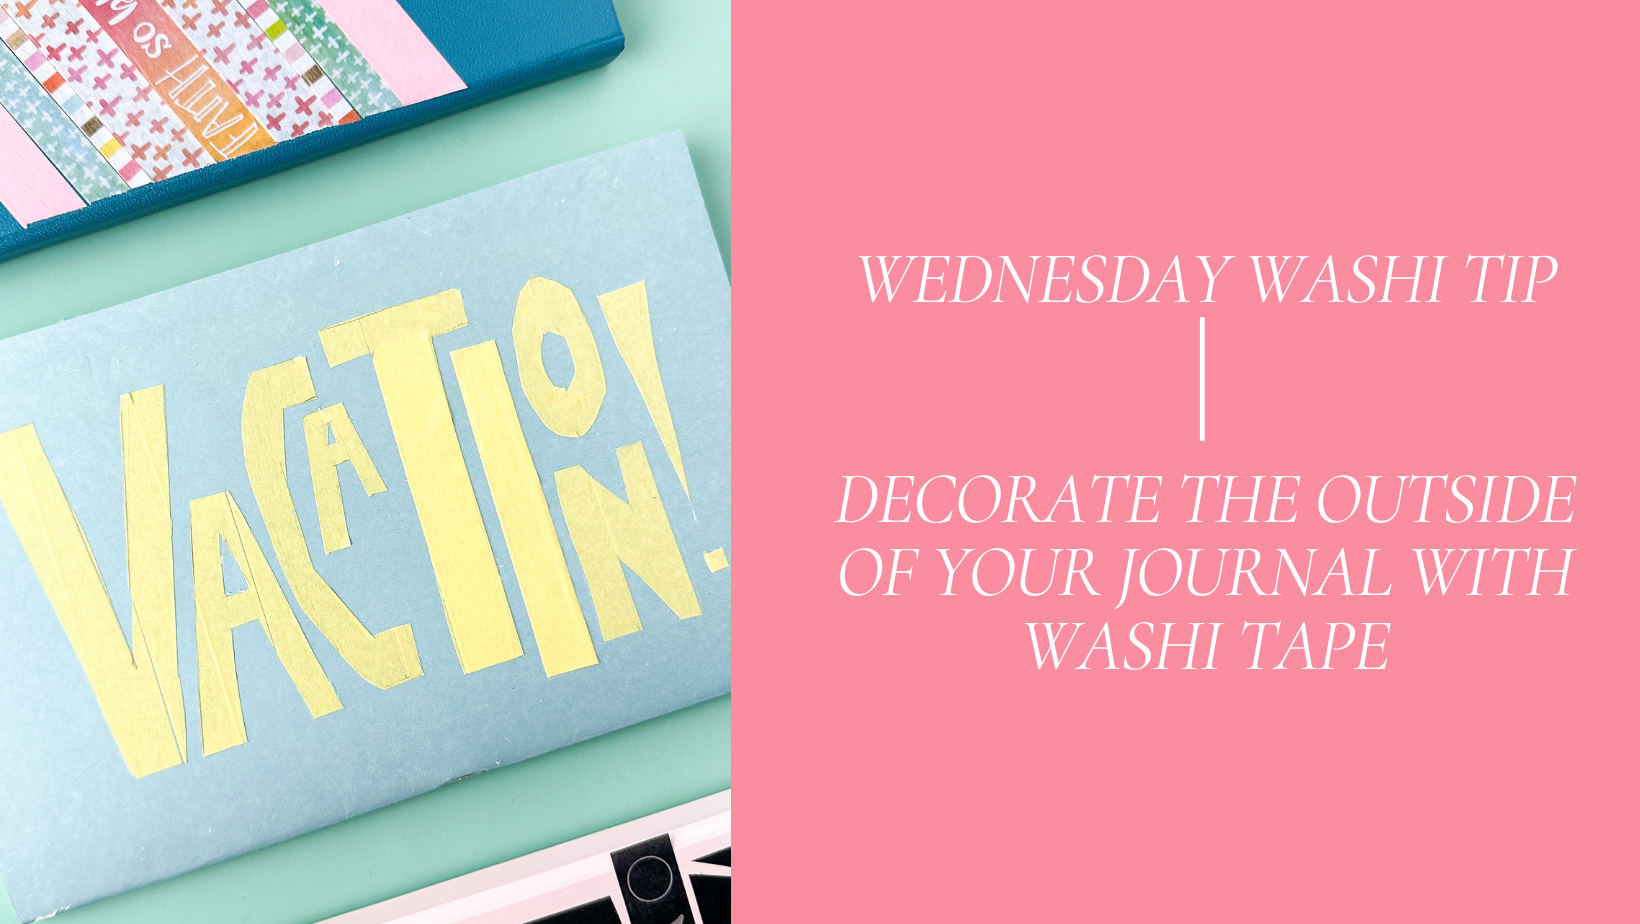
Decorate Your Journal with Washi - WEDNESDAY WASHI TIP
Happy #WashiWednesday! Today, I’ve got a fun and unique way to use washi tape… use it to decorate the OUTSIDE of your journal. 🤍 It's a great way to add pattern, color, and a touch of your personal...
Read more
Leave a comment
This site is protected by hCaptcha and the hCaptcha Privacy Policy and Terms of Service apply.